These vegan, gluten-free and refined sugar free bars are a process, but well worth it! Sweetened with maple syrup these are a healthier alternative to regular cheesecake. Ingredients like cashews and almond butter give these bars their rich consistency without the guilt!

Yield: 9 (2″ X 2″) bars

Ingredients:

Crust-

½ cup dates, pitted and chopped

1 cup oats

¼ cup ground flaxseed

1 Tablespoon coconut oil

1 Tablespoon maple syrup

½ teaspoon cinnamon

Sprinkle of salt


Filling-

1 ½ cup raw cashews, soaked overnight in water (then drain)

2 scoops collagen peptides (optional)

1 teaspoon cinnamon

1 teaspoon vanilla

2 Tablespoons coconut oil

¼ cup maple syrup

¼ cup almond butter

Sprinkle of salt


Topping-

1 teaspoon butter

1 apple (any kind), diced

¼ cup apple cider


Directions:

  1. Line an 8 in X 8 in square baking pan with parchment paper or foil.

Crust-

  • Place all ingredients in a blender or food processor and blend until a dough begins to form.
  • Once combined, evenly press the mixture into the baking pan and set aside.

Filling-

  • Place all ingredients in a blender and blend for 2-3 minutes, stirring occasionally.
  • Once the mixture is smooth, evenly spread over the crust.

Topping-

  • In a small saucepan, melt the butter over medium heat.
  • Add the apples and cider and cook for 5-10 minutes on medium-low heat until apples are softened and start to caramelize.
  • Leave the apples to cool for 10 minutes before evenly pouring over the filling.

Freeze the bars for 1 hour before cutting!

As much as everyone (except me) hates to admit, soup season is upon us! A long and cold day calls for a warm bowl of chili for dinner. Luckily, this one is packed with tons of veggies, fiber and lean protein. Keeping up with those classic flavors, top with grated cheddar cheese, tortilla chips, plain Greek yogurt (you won’t even miss the sour cream), and fresh cilantro!

Yield: 6-8 ish servings

Ingredients:

1 Tablespoon olive oil

1 lb lean ground turkey (sub- ground chicken or ground beef)

1 Tablespoon each: garlic cloves (minced), paprika

1 teaspoon each: chili powder, salt, pepper, oregano, cumin

1 onion, diced

2 bell peppers, diced (any color, whatever you have)

3/4 cup carrots, diced

2 cups chicken stock

1 large can, diced tomatoes

2 Tablespoons tomato paste

1 can black beans, drained and rinsed

1 can kidney beans, drained and rinsed


Directions:

  1. In a large pot heat the olive oil over medium heat.
  2. Add the ground turkey and cook for about 5 minutes or until partially cooked, stirring occasionally.
  3. Add the spices, veggies and stock. Cover and cook on low heat for about 15 minutes or until vegetables begin to soften.
  4. Add the diced tomatoes, tomato paste and beans. Stir until combined.
  5. Cover once again and cook on low heat for 45-50 minutes, stirring occasionally.

Keep refrigerated in an airtight container for 1 week!


Yield: about 3 cups

Ingredients:

1 Rotisserie chicken (pull off all meat and chop into small pieces)

1/2-3/4 cup plain Greek yogurt

2 Tablespoons honey

1 Tablespoon mustard

1 apple, diced

1/3 cup pecans, chopped

1/4 cup dried cranberries

Sprinkle of salt & pepper

Directions:

  1. Mix all ingredients together in a large bowl, stirring until chicken is fully coated.
  2. Put over salad greens, into a wrap or just eat by the spoonful!

Keep refrigerated in an airtight container for up to one week!

Yield: One jar (12-15 spears)


Ingredients:

1 small cucumber, sliced into coins or spears (preferance)

1/4 cup white distilled vinegar

1/2 cup water

1 Tablespoon sugar

1 Tablespoon Everything Bagel Seasoning (at Trader Joe’s) (or use white/black sesame seeds + granulated garlic)

1 teaspoon salt

1 bay leaf


Directions:

  1. Boil vinegar, water, sugar and salt until disolved.
  2. Slice cucumbers and place tightly into a mason jar.
  3. Pour hot liquid over cucumbers, leave to cool on counter. Keep in fridge for up to 2 weeks!


As summer comes to an end, fall inspired dishes are starting to appease me! This dip is perfect for an end-of-summer BBQ or even a fall soiree. Serve with pita chips, raw or roasted veggies, and crackers.

This dip is also perfect to spread on sandwiches or wraps to sub for mayo!


White Bean Dip

Yield: about 3 cups

Ingredients:

2 cans white (cannellini) beans, drained and rinsed

3 Tablespoons garlic, minced

1/3 cup olive oil

1 teaspoon dried oregano

1 teaspoon salt

1 teaspoon pepper

1 lemon, juice & zest

1 teaspoon apple cider vinegar

2-3 Tablespoons water (to thin)

Switch up the flavors: Add roasted red peppers, pesto or even olives to mix up the flavor combinations!

Directions:

  1. Place all ingredients in a blender or food processor.
  2. Pulse until ingredients are combined, then blend for 1-2 minutes. Mixture should be smooth and thick.
  3. Top with toasted pine nuts, olive oil, or fresh herbs!

Keep in an airtight container in the fridge for up to 2 weeks.


IMG_3181.jpg

Do you know who picked that apple you ate for a snack? Where it was grown? When it was picked, or even how it got to the grocery store? If your answer is no, don’t worry! This post is all about knowing who grows our food (the real MVPs): FARMERS and how you can get the inside scoop on where your food comes from.

My interest in food & wellness peaks each summer when our CSA (community shared agriculture) begins. Each Monday (for the past 7 summers) from May- September I head to our local farm to pick up our share of fresh veggies, herbs and flowers (our share also includes weekly U-Pick options such as beans, tomatoes and berries).

If you are interested in learning more about what a CSA entails- you’re in luck! Below I’ve answered some FAQ and interviewed my farmer/ CSA director Nancy Grove (answers in italics).

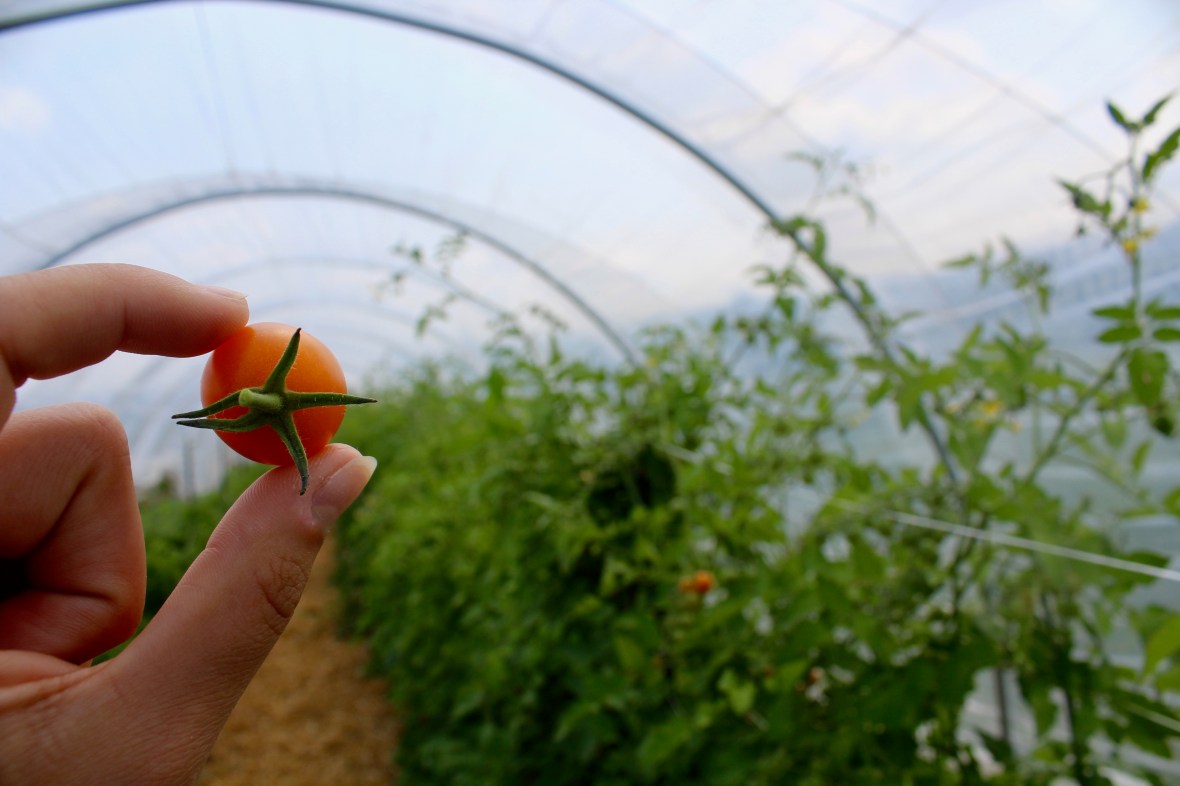
*Photos included were taken at Old Path Farm in Sauquoit, NY*

IMG_3179.JPG

How does it help the farmers?

This helps farmers have a more steady and guaranteed income even when the weather is rough.  Additionally, farms pay most of their expenses in the winter and early spring, purchasing seeds, supplies and equipment, and normally they must then wait until the summer or fall to receive income to pay for those expenses.  For this reason, farms often rely on loans with accruing interest.  Many farms go out of business due to the above financial pressures.  In the CSA model, the customers pay the farmer at the time when the farmer needs the money most.


How does it benefit me?

First and foremost, they receive extremely fresh and seasonal produce.  In most CSA situations, the customers receive a significant discount on the value of the farm products over usual market value.  In many CSA situations, customers get to know their farmers and grow a trusting relationship with them, thereby excluding the need for a third party certifying agency (i.e. government or NGO-based organic certification).  In many CSAs, customers come to the farm weekly and become intimate with where their food is coming from.  They witness and are even involved in the process of growing food.

            Over the 13 years we have been practicing the CSA model, we have found that every year, no matter how difficult the weather conditions, we are able to provide every customer with more than their money’s worth of food.  What has varied year to year is which vegetables are most abundant.  Sometimes there is a very challenging spring, and the yield starts off slow, but later in the summer and fall, other vegetables have come to thrive so we can make up for the rough start.

            We value farmer’s markets, but truth is, on a rainy day or a holiday, customers don’t come.  CSA model means that our hard work of growing vegetables never goes to waste.  The customers have pre-paid, so they always show up!


How can I find a CSA near me?

localharvest.com – Free website that analyzes your location and provides a list of CSAs, farms, farmer’s markets, co-ops, u-pick, and wholesalers near you!

If all else fails you can google “CSA near me” – guaranteed results.


*I also asked some questions that interested me about the farming process and Nancy’s thoughts on fresh, local produce.

Some extra reads here:

IMG_6365.jpg

What’s so great about organic farms?

Ideally, organic farms are striving to mimic the natural surrounding ecosystem as much as possible.  And they are seeking farming practices which do not poison the water, soil, air, plants, animals and humans who exist around their farm. Non organic farms spray upon our food chemicals which are known to be toxic and cancer-causing.  They are the reason that breast milk in the United States contains herbicides.  


What additional things are added to the growing process to benefit the plants?

We spray and spread a long list of nutrients on the soil and plants.  All of these nutrients are derived from nature and are not man-made.  They include enzymes, beneficial bacteria and essential oils.  Another mainstay are rock minerals such as cobalt, zinc, copper, molybdenum, phosphorus, potassium, selenium, magnesium, manganese, etc.  The reason that we use these trace minerals is both because they lead to optimum health for the plants and because when we ingest the produce, we are eating “nutrient dense-food” which brings optimum health to the consumers.  When plants have all the nutrients they need, they do not succumb to insect or disease problems.  Likewise, when humans have all the nutrients they need they are not as susceptible to diseases and bodily dis-functions. 


What happens to the farm/ growing process in the winter?

We have time off in the winter to enjoy the glories of Upstate New York, spend time with our families and pursue our other interests.  The garden has been planted to a crop that protects and nourishes the soil for the dormant winter months.  Some farms continue growing in greenhouses during the winter, but we choose to rely on storage vegetables for our own consumption.  Our winter farm tasks include the office work of taxes, accounting, planning, ordering and marketing.


Why do you think eating locally and seasonally is beneficial to us and to the environment? 

We benefit from eating food that is fresh.  Locally marketed food is cultivated in a way that is most delicious and nutritious.  Food that is intended to travel over 1000 miles to your plate has been designed to be packaged and to survive weeks of travel and storage in the grocer.  This is why produce in the grocery store does not taste good.  If you have ever tasted garden-fresh produce, then you know what I am talking about.

As for the ‘environment’- we are less likely to allow the poisoning of rivers, when the river is running through our own community and is our own water source.  Farms that are out of sight and mind, get away with horrendous amounts of pollution.  The same is true of farm labor.  We are less likely to want to exploit workers who live in our community and who are our friends, neighbors and relatives.

*If you have any other questions about CSA, farming, or how you can get involved feel free to contact me! (contact info located in the About section)

With autumn soon arriving, I love to stock my freezers with fresh baked goods, veggies and fruits. Keeping these vegetables frozen until winter ensures you have summer-fresh food all year long! As much as I’d LOVE to eat sautéed zucchini for every meal, I think people would be more receptive to something sweet!

These muffins pack a punch of flavor as well as nutrients: fiber, veggie power and a hint of sweetness make them the perfect grab-and-go breakfast!

Here’s what I did with my leftover zucchinis:


Yield: 16-18 cookies

Ingredients

1 medium zucchini, shredded

2 cups oats

1 cup flour (whole wheat is best, but AP is fine)

½ cup ground flaxseed (optional)

1 teaspoon ground cinnamon

½ teaspoon baking powder

½ teaspoon baking soda

½ teaspoon salt

¼ cup (4 TBs) butter, melted & cooled (sub: coconut/olive oil)

1 large ripe banana, mashed

1/3 cup honey (sub: agave, maple syrup)

1 egg

2 teaspoons vanilla

½ cup dark chocolate chunks (I cut up a dark chocolate bar, regular chips are fine)


Directions

  1. Preheat oven to 350 degrees. Place zucchini in a large bowl and sprinkle with salt, sit for 10 minutes. Press the zucchini and drain excess water.
  2. In a separate bowl whisk together the vanilla, egg, honey, butter, banana, cinnamon, baking powder and baking soda.
  3. Add the zucchini and stir until combined.
  4. Stir in the flour, oats and chocolate, mixing until just combined.
  5. Place two tablespoons of the mixture on a greased baking sheet and bake for 15-18 minutes or until just browned.

Store in an airtight container for up to 5 days or freeze for midnights snacks!

The end of summer means one thing: an over abundance of zucchini flooding through the kitchen. Bread, fritters and muffins are the usual works, but these pancakes add that extra umph to breakfast! Packed with fiber, natural sweetness and nutrients, these cakes are like chocolate chip zucchini bread on the go!

Helpful Hint: If you have an insane amount of zucchini: shred and place into a ziploc bag, freeze for up to 6 months! This is perfect for fresh zucchini bread all year long.

Here’s what I did:

Yield: 8-10 small pancakes


Ingredients:

1 cup zucchini, shredded

1 cup oats

1 teaspoon baking powder

½ teaspoon cinnamon

½ teaspoon vanilla

2-3 tablespoons honey

1 pinch of salt

2 eggs

1-2 tablespoons milk (regular, almond, cashew)

Pan spray

Optional: ground flax seeds, chocolate chips, chia seeds


Directions:

  1. In a bowl whisk eggs, milk, salt, vanilla, honey and cinnamon until well combined.
  2. Add the oats, zucchini and baking powder and stir until fully incorporated.
  3. Heat a small pan with cooking spray or coconut oil, add ¼ cup of batter and cook until bubbly. Flip and cook on other side for about 2 minutes or until puffed and browned.

Best served with maple syrup or fresh berries!

These fudgey bites are perfect to take hiking, walking or just to give you that extra kick of energy during the work day. You can throw everything but the kitchen sink into these: leftover nuts, seeds, protein powders or even some cinnamon to spice it up. This recipe is completely versatile so make it your own!

We had some leftover dried figs hanging around so here’s what I did:

Chocolate Fig Energy Bites

Yield: 12-15 balls

Ingredients:

¼ cup figs, stems removed (sub: dates, dried apricots or raisins)

2 Tablespoons maple syrup (sub: honey, agave)

½ cup almond butter (peanut, cashew or sunflower butter work too)

½ cup almond flour

½ cup coconut flakes, unsweetened

1 teaspoon cinnamon

1 Tablespoon hemp seeds

1 Tablespoon flax seeds

1 Tablespoon chia seeds

1 Tablespoon raw cacao powder (sub: regular cocoa powder, unsweetened)

1 scoop chocolate protein powder

2 scoops collagen (Further Food)


Directions:

  1. In a blender or food processor, combine the figs, maple syrup and nut butter until smooth.
  2. In a bowl, add the remaining ingredients and stir until fully incorporated. Add in the fig mixture and stir until dough begins to form (this might be somewhat sticky, if so add more almond flour- if too dry, add more maple syrup).
  3. Using a teaspoon, measure the mixture into your hand and roll into balls. Place on a parchment lined baking sheet and freeze for 10-15 minutes. Roll some in extra almond flour, cocoa powder, chia seeds or leave as is.
  4. Once the balls have set up, place them in an air tight container and store in the fridge for up to 2 weeks!


With our CSA in full force, it seems like a race each week to eat as many veggies as possible before they spoil. This can be seen as a good thing though for both for my health and my creativity. After picking (and eating) pounds of peas, this is my favorite way to eat them in disguise.

This recipe is perfect for those on the go: one pot, minimal ingredients & a delicious meal to enjoy for dinner and lunch the next day! If you’re not a sausage person you can substitute ground beef, turkey or chicken or add some swiss chard, spinach or collard greens if you’re not into kale.

Toss this mixture with pasta or leave it as is- both are equally delicious, but who doesn’t love an extra excuse to eat carbs!


Serves 3-4 (or 2 if you’re really hungry)

Ingredients:


2 Tablespoons Olive Oil

1 teaspoon garlic, fresh and chopped

½ pound Italian sausage (sweet or spicy, whichever you like)

1 (8 oz) can of Cannellini beans, drained and rinsed

1 ½ cups peas, fresh or frozen

3 cups kale, fresh (chopped or torn into small pieces)

½ cup chicken stock (or water if you don’t have this on hand)

Salt & pepper to taste


Directions:

  1. In a large skillet (I used cast iron), heat the olive oil over medium heat for 1-2 minutes.
  2. Add the garlic and cook for one minute or until fragrant. Remove the sausage from its casing and crumble into the pan with the garlic. Sauté this mixture for 8-10 minutes or until the sausage is browned and fully cooked.
  3. Remove the sausage from the pan and set aside. In the same pan, add the beans and peas and sauté for 5 minutes on medium-low heat.
  4. Once the beans and peas are somewhat soft, add the kale and stock (or water) and cook until the kale is fully wilted, about 5 minutes.
  5. Season the vegetables with salt and pepper before adding the sausage back to the pan. Mix everything together and sauté on medium-high heat for 2-3 minutes before serving. Enjoy!

This mixture can be stored in the refrigerator for up to 1 week.